
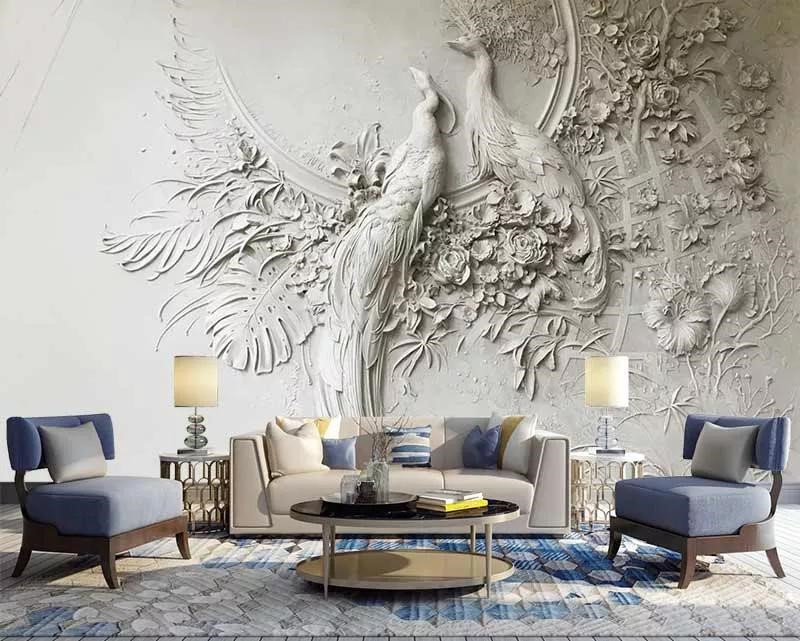
Getting to Know 3D Posters
What Is a 3D Poster?
One of the most practical and beautiful products used in interior decoration, which has gained significant popularity in today’s world, is the 3D poster. Interior designers use this type of wall covering to add a remarkable touch to various spaces by covering the walls and ceilings. A 3D poster beautifully and uniquely displays your imaginative ideas. By using this type of poster, you can invite nature into your living room or carve out your child’s favorite cartoon designs on their bedroom wall!
You might think of a poster as regular wallpaper, but it’s interesting to know that there are significant differences between the two. When you buy wallpaper, you are presented with pre-made rolls produced and sold in specific dimensions and sizes. It’s worth mentioning that the images on all rolls are identical and repeat continuously. You select your desired pattern and purchase and install as many rolls as you need.
In contrast, a 3D poster is a large and fixed image that comes in two types: ready-made and printed. The pieces of these wall coverings are arranged during installation to form the original design. While wallpapers are used to cover the entire walls of a space, 3D posters only cover one wall, creating an eye-catching focal point.
If you think that 3D posters mean prominent or raised designs, you are mistaken. The “3D” aspect of these posters does not refer to them being physically raised. Designers create the images on these posters using shading and intricate detailing to give the illusion of depth, making it appear as if you’re looking at a raised image.
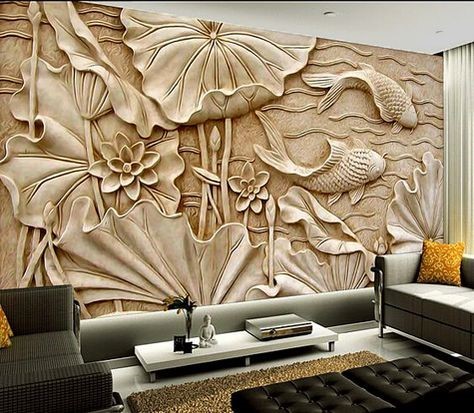
Materials Used in Making 3D Posters
You might be wondering what materials are used in making 3D posters. It’s interesting and essential to know that 3D posters are made from a variety of materials, including pastel, canvas, leather, fiber, and a wide range of others. As a customer, you can choose the type of paper used for printing 3D posters according to your preferences.
Sometimes, they use sandpaper-like paper in making 3D posters. Sandpaper-like papers, with their fine-grained texture, provide a more natural appearance to the printed design compared to other papers. If you’re looking for a beautiful and natural pattern, a 3D poster printed on sandpaper-like paper is the best choice for you.
Leather papers, which have many fans, have a leather-like texture and showcase the printed design with a glossy and vibrant appearance. Fiber papers, which have a semi-matte texture, are easy to install without any hassle. This ease of installation has led many individuals to prefer this type of 3D poster.
Nonwoven paper, the latest type of paper used in 3D posters, is entirely smooth and texture-free, providing a surface that displays the printed design smoothly and brightly. This type of paper, due to its excellent quality, is also on the higher end in terms of price.
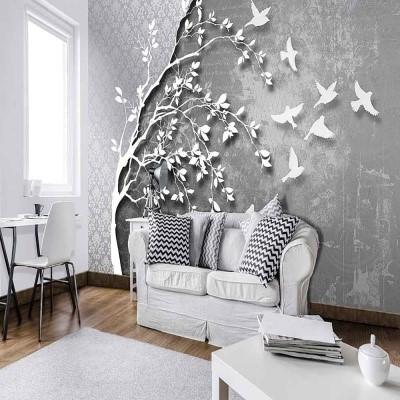
Installing 3D Posters
To install a 3D poster, start by measuring the wall you want to cover. Measure the widest width and the highest height of the wall. Add an extra 3 to 5 centimeters to the measured dimensions and, if necessary, trim any excess poster after installation.
Before installing the 3D poster, ensure that the wall is clean. If there are nail holes, cracks, or imperfections on the wall’s surface, fill them with putty and wait for it to dry completely. Then, sand the surface with a sanding block to make it smooth and even.
Sometimes, people install posters on freshly plastered walls. If you plan to do so, keep in mind that installing a 3D poster on freshly plastered walls that haven’t completely dried will not yield ideal results. Allow the wall to dry thoroughly before proceeding with the poster installation.
During installation, pay attention to the numbers on the posters and arrange them accordingly. Remember that the order of the rolls should be from left to right. Once you’re confident about the order and numbers of the rolls, start by marking the position of the first poster on the wall. Use a laser level or a straightedge to create a level and vertical line on the wall’s left side. Ensure that the line is perfectly straight and level; otherwise, the end result won’t be as desired.
After verifying the starting point, remove the first roll and apply adhesive to the back of the poster. Wait for 10 to 15 minutes to let the adhesive partially dry. Then, install the poster from top to bottom, gently smoothing out any air bubbles with a plastic card.
Once the first roll is in place, it’s time to move on to the second roll. Position the second roll about one centimeter over the first roll and adhere it. During installation, make sure the images align perfectly, visually completing one another. Using a straightedge or a sharp, thin blade, cut along the overlapping area between the two rolls to separate them by about one centimeter. Then, press the two edges together, and repeat this process for all rolls until your 3D poster is complete.


Leave A Comment